Optimising an Autumn image
17.11.2021
Capturing, Optimising and Enhancing images to look their best

Throughtout my website, I talk about 'optimising' images and I thought it may be useful to demonstrate this with the image of an Autumn Oak tree (above), taken earlier today, 17th November.
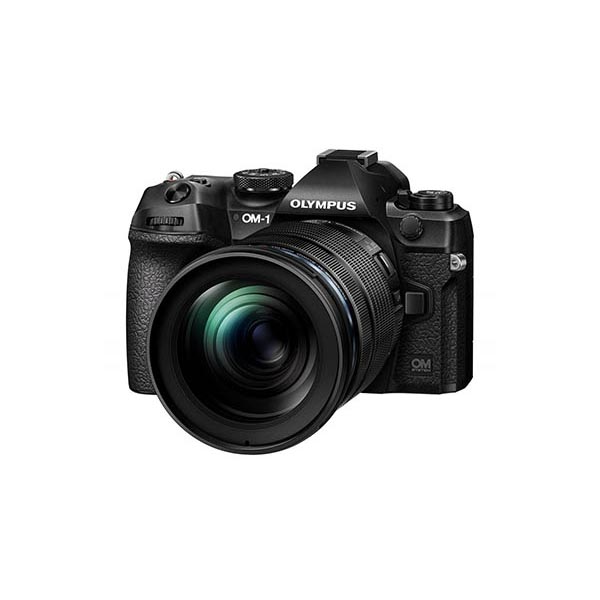
The image was captured using the latest EOS R6 mirrorless camera, with the excellent and very sharp RF100-500 f/5.6-7.1 IS L lens. I swapped to the new RF camera system earlier this year after 30 years of using the Canon EF system. The mirrorless cameras bring the advantage of very light weight (under 600g for the body with battery), in-body stabilisation and a live view of camera exposure through the OLED view finder, making it very simple to zoom in to check focus,to review the captured images, through the high resolution viewfinder or to shoot a movie clip.
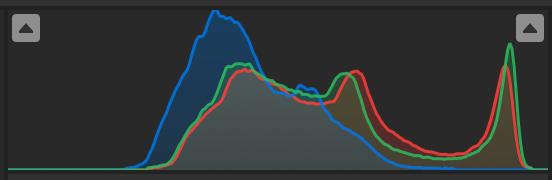
The first rather hazy-looking image of the tree, shows exactly what my Canon EOS camera captures as a RAW image. The exposure is correct, with no clipped highlights (to right) or shadows (to left), as the histogram confirms. By capturing the perfect exposure as a RAW file, we get the maximum amount of data to work with, ensuring clean, low-noise images after processing in Lightroom.
As I import the image into Adobe Lightroom, the first thing I do, is to check the effect of the Auto exposure control, which sets the white and black points, optimum exposure, together with optimised shadows and highlights.

In this case the 'Auto' control works well (it is not always the case) and the image looks much better. It has now been optimised. However, the image now needs subtle adjustment to taste, as the grass is too bright and there is not quite enough drama in the image.
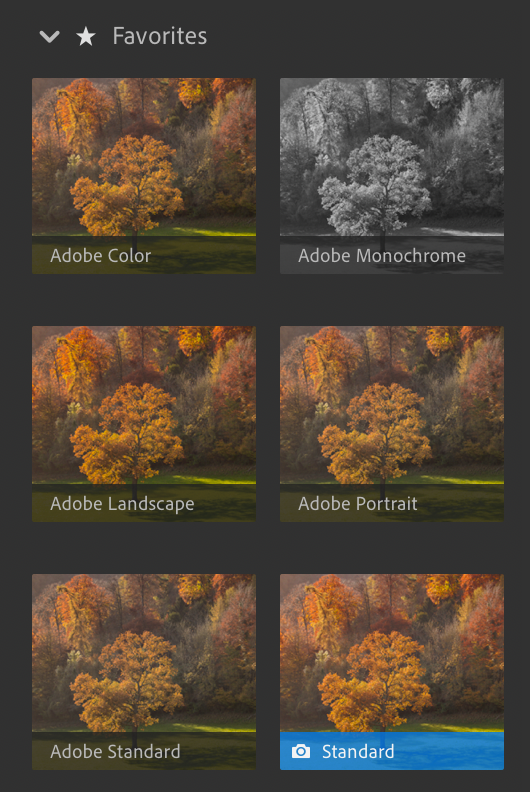
At this point, I have also checked the effect on the image of the different Adobe Camera profiles built into Adobe Lightroom. These profiles allow quick adjustment of the style of the image, or if colour accuracy is critical, custom profiles can be created and installed for perfect matching of picture to subject.

I decided to stay with the Standard profile for the camera, but made a slight adjustment to the curves, giving me an image that has slightly more contrast and is closer to matching what I saw when capturing the image.
After the curves adjustment, I decide that I would prefer the shadows to be a little darker. I could continue to do this with the curves or choose to utilise a slider. I chose the latter, so the black level is adjusted down a further couple of percentage points to create the image version below.

Finally, and before outputting the image, I went to the 'Detail' setting and added some capture sharpening to improve definition on the screen. The image now matches my perception of the scene.
All changes have been made in Adobe Lightroom, so no 'manipulation' of reality. The image has been optimised, then very slightly enhanced to my taste, for use on my client's website and brochure. I should add that my screens are regulalrly calibrated, so I have full confidence that image colours and density are correct and will look their best on other people's screens.
If you want to know more about this process, join me on a Somerset Photo Safari or one of my other holidays - setting up cameras of all brands for effective use and optimising and enhancing images is my speciality and an important part of the (optional) teaching included in all trips.
If your prefer, drop me line and join me for a day of teaching with Adobe Lightroom.